
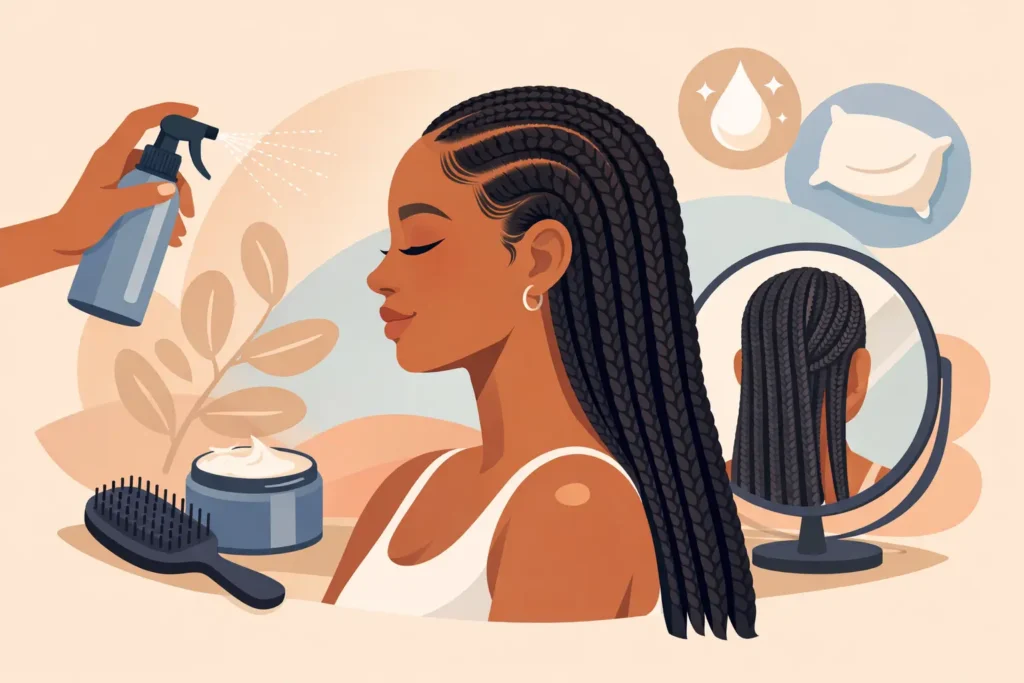
Your fresh knotless braids should still look intentional after week two, not like you have been fighting for your life in your sleep. This knotless braids maintenance guide is for keeping the parts crisp, the scalp comfortable, and the length polished without overhandling the style that was installed to protect your natural hair.
The goal is not to make your braids last forever. The goal is to enjoy a beautiful, scalp-friendly style for its healthy lifespan, then take it down before buildup, new growth, and tension turn protection into stress. A premium install gives you a strong start. Your at-home habits determine how well that look carries through the weeks ahead.
The First 48 Hours Set the Tone
A little tenderness during the first day or two can be normal, especially if you are not used to wearing braids. Persistent pain, headaches, bumps, or a tight pulling feeling are not something to push through for the sake of the look. Knotless braids are designed to be gentler at the root, and your style should feel secure without feeling restrictive.
During those first 48 hours, keep manipulation low. Avoid tight ponytails, slick buns, and styles that pull the braids in a direction they were not installed to sit. Let your scalp settle, wear your hair down when possible, and resist the urge to constantly touch, separate, or inspect every braid.
If you notice one braid that is genuinely too tight, address it early with your stylist rather than waiting for irritation to worsen. Comfort is part of a polished result, not a bonus.
Your Daily Knotless Braids Maintenance Routine
Great maintenance is simple and consistent. You do not need to coat your scalp in product or redo your edges every morning. In fact, too much product is one of the fastest ways to create dullness, flakes, and buildup around those clean parts.
Each day, give your braids a quick visual check. Smooth any light surface frizz with clean hands, especially around the crown and hairline. If your scalp feels dry, apply a small amount of lightweight scalp oil directly along the parts, then gently press it in with your fingertips. Think moisture and comfort, not shine at any cost.
A light braid refresher spray can be helpful when your natural hair needs hydration, particularly during dry weather or if your hair tends to feel thirsty. Keep it focused on your roots and natural hair rather than soaking the extension hair. Wet braids that do not dry fully can hold odor and make your scalp feel uncomfortable.
Be mindful of your edges. A tiny amount of edge control for a special occasion is fine, but daily layers of gel can leave a white cast and make the hairline harder to cleanse. Your edges deserve softness, not a daily tug-of-war.
Protect Your Braids While You Sleep
Nighttime is where a lot of unnecessary frizz begins. Cotton pillowcases can pull moisture from your hair and create friction against the braid surface, so cover your braids before bed with a satin or silk scarf, bonnet, or pillowcase. The best choice is the one you will actually use every night.
For long braids, gather the length loosely into a low ponytail or large braid before covering it. Do not wrap the scarf tightly around your hairline. You are protecting the style, not flattening it into submission.
If your braids include boho curls, human hair pieces, or curly accents, take an extra minute to separate and loosely coil the curls before bed. This keeps them from matting together and helps preserve that soft, elevated finish. A little nighttime care makes a major difference in how fresh the style looks in photos, at work, and on the weekend.
How to Clean Knotless Braids Without Creating Frizz
Yes, you can cleanse your scalp while wearing knotless braids. The timing depends on your lifestyle, scalp needs, workouts, and how much product you use. Many clients do well cleansing every two to three weeks, while someone who sweats heavily, deals with dandruff, or uses more scalp products may need a gentler cleanse sooner.
Start by diluting shampoo with water in an applicator bottle. Apply it directly to the scalp between the parts, working in small sections. Use the pads of your fingertips, never your nails, to gently lift sweat, oil, and buildup. Let the suds travel down the braids instead of roughing up the lengths.
Rinse thoroughly. Residue left near the roots can cause itching, flakes, and that heavy feeling nobody wants. Follow with a lightweight moisturizing spray if needed, then dry your braids completely. Sitting under a hooded dryer is ideal, but a hand dryer on a warm or cool setting can work if you take your time.
Do not go to sleep with damp braids. The outside may feel dry while the base remains wet, especially with medium or small braids. Give your hair enough drying time to protect both your scalp comfort and the clean finish of the style.
Keep Frizz in Its Place, Not in Control
Some frizz is normal. Your natural hair is alive, your braids are being worn, and a perfectly frozen style is not the standard. The key is knowing the difference between a soft lived-in look and frizz that signals the style needs attention.
For minor fuzz, use a braid mousse sparingly and wrap your hair with a satin scarf for 10 to 15 minutes. This can help smooth flyaways around the roots and give the braid body a refreshed look. Avoid loading mousse onto curly pieces, particularly human hair curls, because it can make them stiff or tangled.
For bohemian styles, refresh curls with a little water and a curl-friendly leave-in applied to your hands first. Gently finger-detangle from the ends upward. Brushing curly pieces aggressively, especially when dry, can create a fluffy texture that does not match the original finish.
If the braid ends start to look worn from rubbing against coats, bags, or seat belts, use a small amount of lightweight serum on the extension hair only. Keep oils away from your clothing and avoid anything heavy enough to attract lint.
Workouts, Weather, and Real Life
A protective style should fit your life, not keep you from it. If you work out, wrap your edges and hairline with a sweat-wicking headband or satin-lined band before exercising. Afterward, let your scalp air out instead of leaving it trapped under a damp hat or scarf.
Humidity can make your natural hair expand at the roots, especially if you have a tighter curl pattern. That does not mean the installation failed. Use light mousse or a refresher at the hairline when needed, and avoid overcorrecting with gel, heat, or pulling.
Swimming takes extra planning. Before getting in a pool or ocean, thoroughly wet your braids with clean water and apply a light leave-in to your natural hair. Rinse immediately after swimming, cleanse when necessary, and dry fully. Chlorine and salt can leave both your scalp and extension hair feeling dry, so this is one situation where prompt care matters.
Know When It Is Time for Takedown
Most knotless braid styles look their best for about four to eight weeks, depending on braid size, your hair growth, your routine, and whether the style includes loose curly hair. Smaller braids may appear neat longer, but they can also make takedown more time-consuming. Larger braids are quicker to remove but may show new growth sooner.
Take your braids down if you notice significant buildup, excessive tangling at the root, persistent itching, slipping, or new tension from the weight of grown-out braids. Do not keep a style in simply because the lengths still look good. Your roots and scalp get the final say.
When you are ready for your next look, arrive with your natural hair properly cared for and free of old extension hair. A clean foundation supports the neat parting, comfortable tension, and lasting finish that make a braid appointment feel like a true transformation.
At Braids by Blinky, the standard is simple: you should leave feeling polished, comfortable, and ready to show up and slay. Treat your maintenance routine as part of that experience. A few calm, consistent minutes of care help every braid keep telling your story beautifully.