
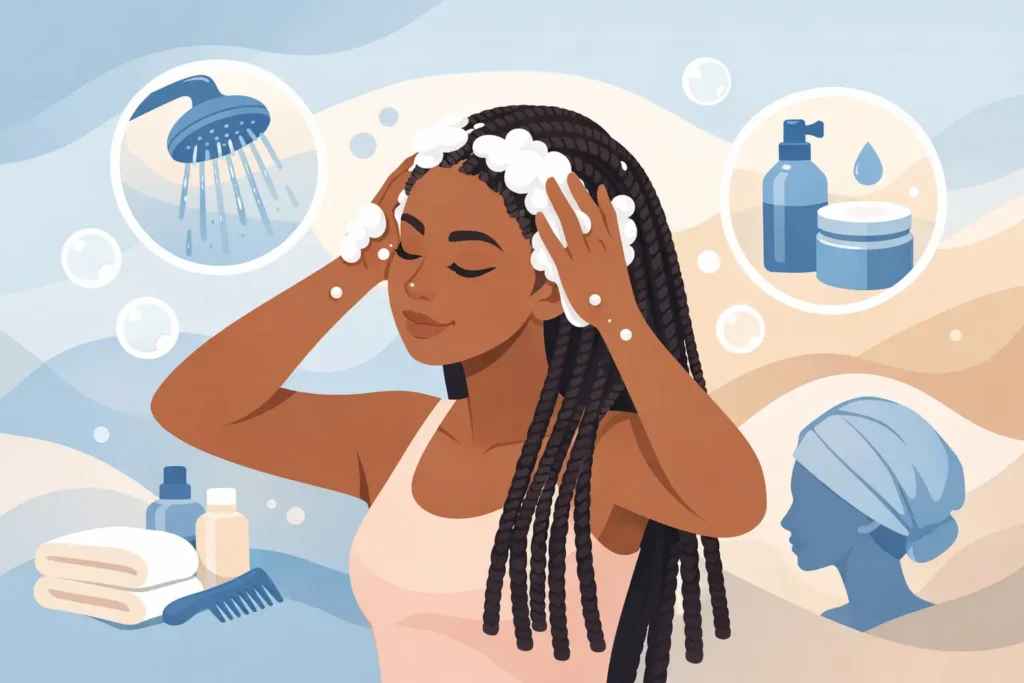
Fresh braids hit differently when the parts are crisp, the scalp feels light, and every section still looks intentional. Knowing how to wash braided hair helps you protect that just-installed feeling without creating frizz, buildup, or unnecessary tension at the roots. The goal is not to drench and disturb your style. It is to gently cleanse your scalp, refresh the lengths, and let your braids keep serving looks.
Whether you wear knotless braids, bohemian braids, Senegalese twists, Fulani-inspired styles, or a custom classic install, your wash routine should match the style, your scalp, and how much product or sweat has built up. A careful routine keeps your protective style comfortable and polished while supporting the natural hair underneath.
When Your Braids Actually Need a Wash
Most braided styles benefit from cleansing every two to three weeks. If you work out often, use edge control regularly, have an oily scalp, or notice flakes and itching, you may need to wash sooner. Waiting too long can allow sweat, oil, and styling product to sit at the roots, which can make a beautiful install feel heavy and uncomfortable.
At the same time, over-washing can shorten the life of your style. Frequent soaking may loosen braids near the base, make synthetic hair look dull, and cause curly boho pieces to tangle. If your scalp only needs a quick refresh between washes, use a light scalp cleanser or a witch hazel-based scalp wipe on your parts, then follow with a small amount of braid-safe oil if your scalp feels dry.
Your scalp gets the final vote. Persistent itching, odor, visible buildup, or flakes are signs that it is time to cleanse, not simply add more oil.
What You Need Before Washing Braided Hair
Keep the process simple. You need a gentle, sulfate-free shampoo, an applicator bottle with a narrow nozzle, lukewarm water, a clean microfiber towel or soft T-shirt, and a light scalp serum or oil for afterward. If you have braids with loose curls or 100% human hair accents, keep a wide-tooth comb or your fingers nearby for gentle curl separation once everything is dry.
Diluting shampoo makes a real difference. Mix one part shampoo with two to three parts water in your applicator bottle. This lets you place cleanser directly along the parts rather than piling thick product over the entire style. It also rinses out more easily, which matters because leftover shampoo can create the very flakes you were trying to remove.
Avoid heavy conditioners at the roots. Conditioner is wonderful for loose natural hair, but with braids it can leave residue, soften the grip at the base, and make extensions feel coated. If your natural ends or loose human hair curls need moisture, apply a small amount only where it is needed and rinse thoroughly.
How to Wash Braided Hair Step by Step
Start by putting your braids into two to four loose sections. Do not pull them tight or pile them high on top of your head. The sections simply make the style easier to control and prevent the weight of wet braids from tugging at one area of your scalp.
Saturate the scalp, not the entire braid
Stand under lukewarm water and let it run gently over your scalp and along the braids. Focus on the roots first. Very hot water can dry your scalp, while aggressive water pressure can rough up the hair and disturb curly pieces.
If you have long braids, support the length with one hand as you wet them. This small step reduces tension, especially with fuller styles or braids that include added hair.
Apply diluted shampoo directly to your parts
Use the nozzle bottle to apply your diluted shampoo along the rows and between sections. Work in small areas so you can reach the scalp without flooding the whole style with product. Use the pads of your fingertips to massage in gentle circles.
Do not scratch with your nails. Nails can irritate the scalp, lift neat parts, and create tiny snags at the braid base. A gentle massage is enough to loosen sweat, oil, and product buildup.
Let the shampoo suds travel down the length of the braids as you rinse. There is usually no need to scrub every inch of extension hair. The runoff will cleanse the lengths without creating unnecessary friction.
Rinse longer than you think you need to
Rinse with lukewarm water until the water runs clear and your scalp no longer feels slippery. This is one of the most overlooked parts of washing braids. Product trapped near the roots can lead to dullness, itchiness, and white residue once the style dries.
Keep the water flowing downward from root to end. Try not to swirl braids around or bunch them together, particularly if you have boho curls, French curls, or loose human hair pieces. Those details are beautiful because they stay airy and defined, not because they are repeatedly rubbed together.
Blot and dry completely
Gently squeeze excess water from each section, then blot with a microfiber towel or soft cotton T-shirt. Do not rub. Rubbing creates friction, fuzz, and tangled curls.
Air-drying works well when you have enough time and good airflow, but your scalp and braid bases must dry fully. Sitting with damp roots for hours can cause odor and discomfort. A hooded dryer on low to medium heat is a smart option for thicker, longer, or high-density styles. If you use a handheld dryer, keep it moving and focus on the roots first.
Never sleep with wet or even very damp braids. The style may look fine on the surface while moisture remains trapped underneath.
Caring for Boho Braids and Curly Ends
Bohemian and gypsy braid looks need a little extra patience on wash day because the loose curls are part of the masterpiece. Before cleansing, loosely separate major curl sections with your fingers. Do not brush them out.
During the wash, keep shampoo concentrated at the scalp and allow diluted suds to rinse through the curls. After drying, use a small amount of lightweight mousse or curl foam on the loose pieces, then gently twirl curls around your fingers to bring back definition. Too much mousse can make human hair or synthetic curls stiff, so begin with less than you think you need.
If a few strands become tangled, work slowly from the ends upward with your fingers. Pulling through a knot can create frizz and shorten the life of the curly finish.
Mistakes That Make Braids Look Old Too Soon
The biggest wash-day mistake is treating braided hair like loose hair. Your scalp needs cleansing, but the installation needs protection. Scrubbing the braids roughly, using a thick layer of shampoo, washing with very hot water, and towel-rubbing the lengths can all make a fresh style look worn before its time.
Be thoughtful with oils, too. A little scalp oil after cleansing can soothe dryness and add shine, but a heavy layer does not equal moisture. Excess oil attracts lint and buildup, especially around the front hairline and parts. Apply a few drops directly to dry areas rather than coating the entire scalp.
Skipping the drying step is another common issue. Braids can hold water far longer than they appear to, especially when the style is long or installed with more hair. Give your style the dry time it deserves.
Keep the Fresh Look Between Washes
Protecting your braids at night makes wash day easier. Cover them with a satin or silk scarf, bonnet, or pillowcase to reduce friction and preserve shine. For long braids, loosely gather the length before covering it so you are not sleeping directly on the weight of the style.
During the day, avoid constant pulling, tight ponytails, and styles that strain the same edges repeatedly. A polished protective style should feel secure, never painful. If you notice ongoing tenderness, bumps, or severe itching after installation, do not push through it. Your scalp deserves comfort as much as your look deserves compliments.
A clean scalp, gentle hands, and complete drying will keep your braids looking elevated far beyond the first week. Treat your style with the same care that went into every neat part, and you can show up feeling fresh, confident, and ready to slay.