
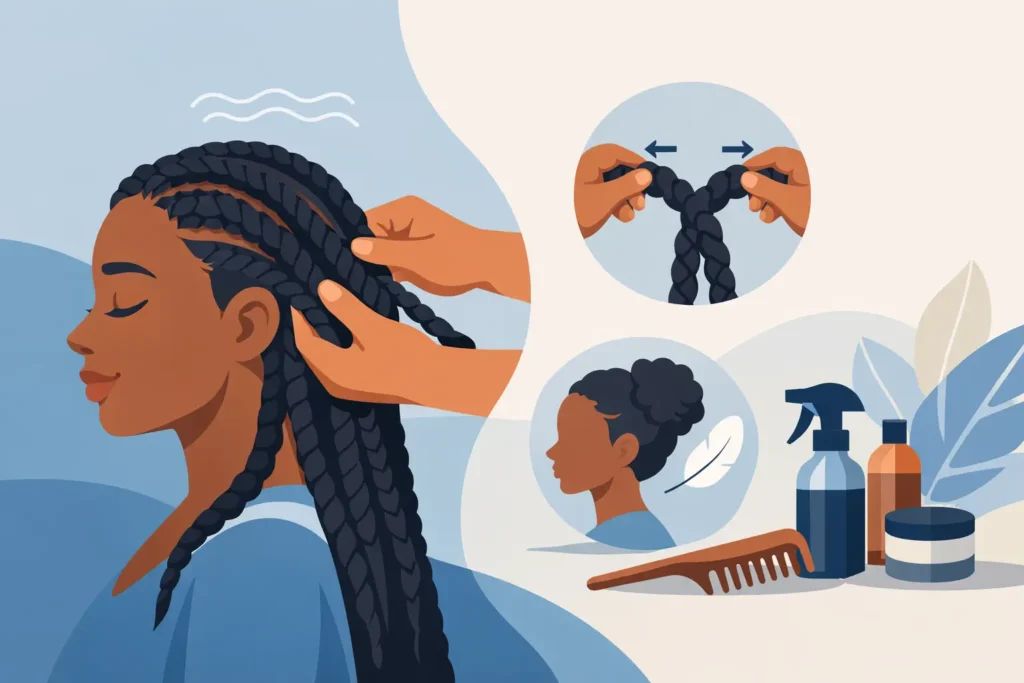
That fresh-braids look should come with compliments, not a pounding headache or a tender hairline. Knowing how to reduce braid tension early can protect your edges, calm your scalp, and help you enjoy your style the way you pictured it: neat, polished, and comfortable enough to show up and slay.
A little scalp awareness during the first day or two is common, especially after a long appointment or a fuller style. But braids should never feel like a beauty emergency. Pain, bumps, excessive pulling, or an inability to sleep comfortably are signs that the installation needs attention, not something to simply push through.
Why braid tension needs a quick response
Tension happens when the braid is installed too tightly at the root, often around the hairline, crown, and nape. The added weight of long braids, curly pieces, or human-hair finishes can make that pulling feel stronger if the base is already tight. Your natural hair may be healthy enough for a detailed style, but it still needs room to move.
Leaving painful braids in place can irritate the scalp and put stress on delicate edges. Over time, repeated high-tension styling can contribute to breakage and traction-related thinning. The goal is not to panic over every bit of tenderness. It is to know the difference between a scalp settling into a fresh style and a style that is asking too much of your hair.
Signs your braids are too tight
Pay close attention if you notice four or more of these concerns: a persistent headache, sharp pain when you move your head, red or swollen bumps, shiny or raised skin around the hairline, tiny white bulbs at the roots, or braids that visibly pull the skin when you lift them. These are not signs that the style will “get better” with time.
If you feel numbness, severe swelling, sores, pus-filled bumps, or sudden hair shedding, remove the source of tension and speak with a medical professional or dermatologist. Scalp health always comes before keeping a style intact.
How to reduce braid tension in the first 48 hours
The sooner you address discomfort, the better. Start by giving the braids less weight to carry. Wear them down when possible, or gather them loosely with a soft satin scrunchie rather than pulling them into a high bun or ponytail. A heavy updo on day one can turn mild tightness into real strain, particularly with knotless braids, bohemian braids, twists, or any long style with curls.
A warm shower can also help the scalp and braiding hair relax slightly. Let warm water run over the braids for a few minutes, but do not aggressively rub, tug, or soak the style for a long period. Follow with a light scalp moisturizer or braid-friendly scalp oil if your skin is dry. Use a small amount directly on the parts, then gently press it in with your fingertips rather than scratching with your nails.
For a tender scalp, a cool compress can offer short-term relief. Wrap an ice pack or chilled gel pack in a clean cloth and hold it lightly against the sore area for several minutes at a time. This can help reduce the hot, tight feeling around sensitive sections without disturbing the braids.
Over-the-counter pain relief may be appropriate for some clients, but follow the product directions and check with a pharmacist or health care professional if you have medical conditions, take medications, are pregnant, or have concerns. Pain medicine can take the edge off discomfort, but it should not be used to ignore braids that are clearly too tight.
Ask for a professional adjustment, not a DIY rescue
If specific braids are pulling, especially along the perimeter, reach out to your braider as soon as possible. A skilled stylist can loosen, redo, or remove the problem sections while preserving the overall look. This is often a much better option than waiting a week and hoping your scalp adapts.
Avoid cutting braids at the root, yanking them loose, or using scissors near your own hair. It is easy to cut natural hair by mistake when you are frustrated and in pain. Also skip the temptation to tug at individual braids repeatedly. Constant pulling can irritate the follicle even if the original installation was only slightly firm.
At Braids by Blinky, proper tension is part of the finish, not an extra. A luxury braid experience should include clean parts, a secure foundation, and enough comfort for you to wear your style with confidence.
When a few braids are the problem
Sometimes the entire style is not too tight. A handful of braids may be installed at an awkward angle, caught around baby hairs, or carrying more extension hair than the rest. In that case, a targeted adjustment is usually all you need.
This is especially common around the temples and nape, where the hair can be finer. Do not be shy about pointing out the exact spots. A clear message such as, “The three braids behind my right ear are pulling when I turn my head,” helps your stylist assess the issue quickly.
Scalp care that relieves discomfort without ruining your style
Once the immediate tightness has been addressed, keep your routine gentle. A dry, itchy scalp can make fresh braids feel tighter than they are, while product buildup can create its own irritation. Focus on clean, light moisture instead of layering heavy creams under the style.
Use a nozzle bottle or pointed applicator to place a small amount of scalp serum, diluted leave-in mist, or lightweight oil along your parts. If your scalp is prone to flakes, choose products made for scalp care rather than coating every braid with thick grease. Less is often more, particularly with boho curls and human-hair additions that you want to keep airy and fresh.
At night, protect the style with a satin bonnet or satin scarf. This reduces friction, helps preserve the neatness of your parts, and prevents you from waking up with dry, irritated areas. If your braids are long, loosely place them above or beside you rather than sleeping directly on a heavy bundle.
Do not scratch with combs, nails, or pointed tools. If itching is intense, gently pat the area or use the pads of your fingers. Persistent itchiness with redness or bumps deserves professional advice, because it may be irritation from product, extensions, or an underlying scalp concern rather than ordinary freshness.
Prevent tight braids at your next appointment
The best way to reduce braid tension is to make comfort part of the conversation before the first section is installed. Tell your stylist if you have sensitive edges, a tender scalp, recent shedding, postpartum regrowth, chemical damage, or a history of tension-related breakage. That information helps them choose an approach that respects your hair instead of forcing a one-size-fits-all installation.
Length, braid size, and added hair all affect weight. Waist-length small braids create a beautiful, high-impact look, but they may not be the best choice for fine hair or a sensitive hairline. Medium parts, a shorter length, lighter extension density, or a softer perimeter can still deliver a standout result with less stress on your scalp.
Speak up during the appointment, too. You do not have to wait until every braid is finished. If a section feels sharp, pinchy, or unusually tight, say something right away. A polished style is easier to adjust in the moment than after you have left the chair.
Bring inspiration photos, but stay open to your stylist’s recommendations. The healthiest version of a look may involve a slightly larger braid size, fewer curly pieces near the hairline, or a different parting pattern. That is not compromising your vision. It is customizing it so your hair can thrive underneath the glamour.
Your braids can be sleek, statement-making, and scalp-friendly at the same time. Comfort is not something you earn after a few painful days. It is part of what makes a protective style truly worth wearing.